أهم مقاطع الفيديو


Discover Cheeft & Besco Otomotiv, a trusted manufacturer specializing in high-quality brake calipers and innovative braking solutions. In this official company introduction video, we present our expertise, manufacturing capabilities, and commitment to excellence in the automotive industry.
From advanced production facilities to a highly skilled engineering team, Cheeft & Besco Otomotiv delivers world-class products that meet global standards for safety and performance.
www.cheeft.com

Discover Cheeft &
Besco Otomotiv, a leading manufacturer of truck brake calipers, repair
kits, and advanced braking solutions trusted worldwide.
With more
than 20 years of experience, Cheeft delivers precision engineering,
top-quality production, and reliable performance for heavy-duty
commercial vehicles.
🌍 Serving customers in over 70 countries, Cheeft stands for:
OEM-compatible caliper repair kits & accessories
State-of-the-art CNC production facilities
Commitment to safety, durability, and performance
🔹 Learn more: www.cheeft.com
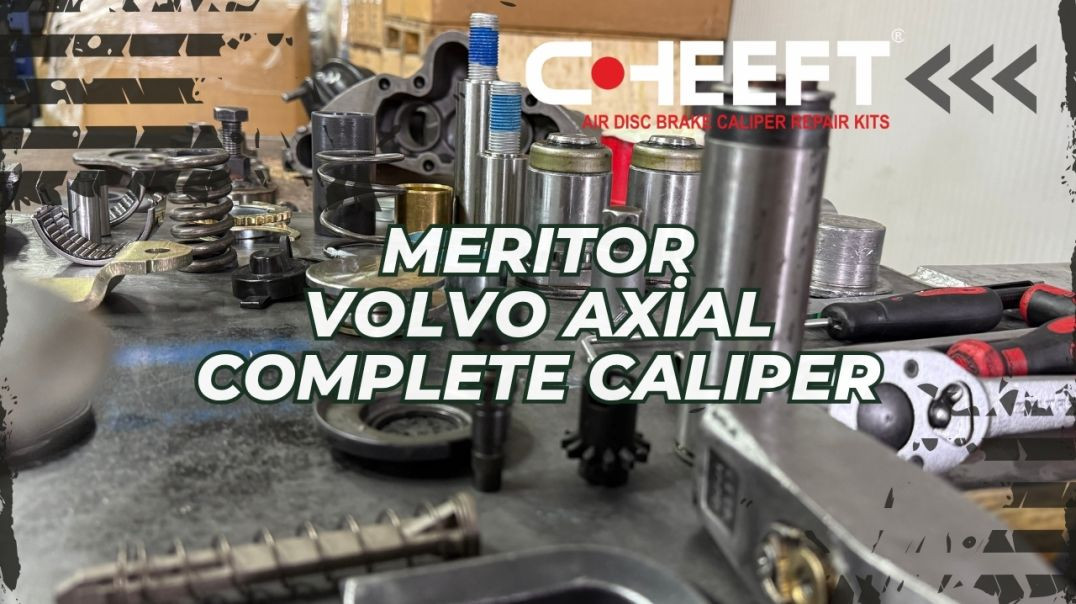
Bushing Installation Tool: https://www.cheeft.com/tr/prod....ucts/meritor/meritor
For More Products: https://www.cheeft.com/tr
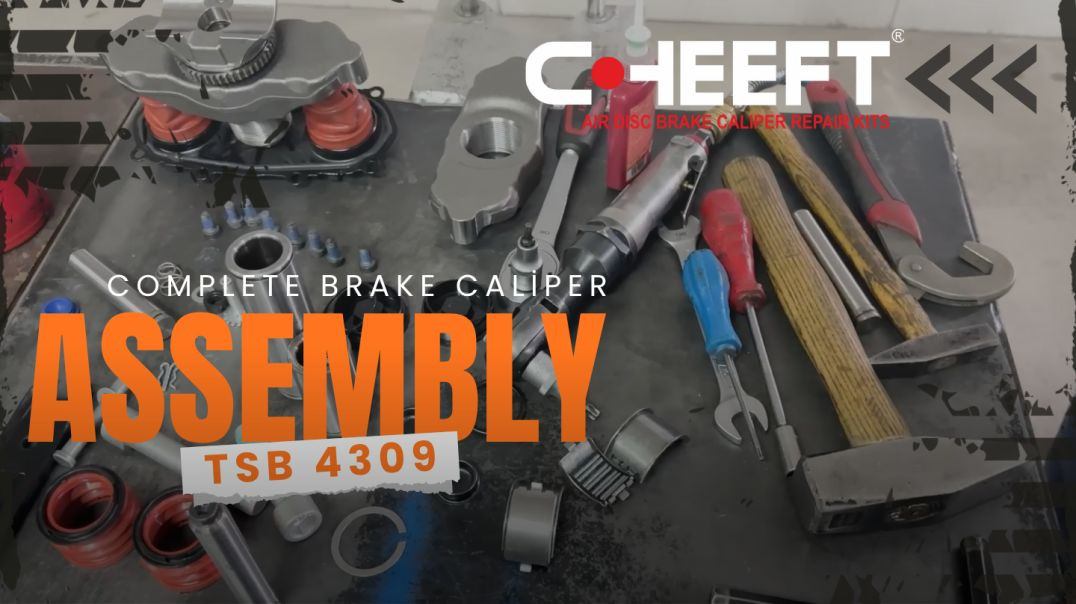
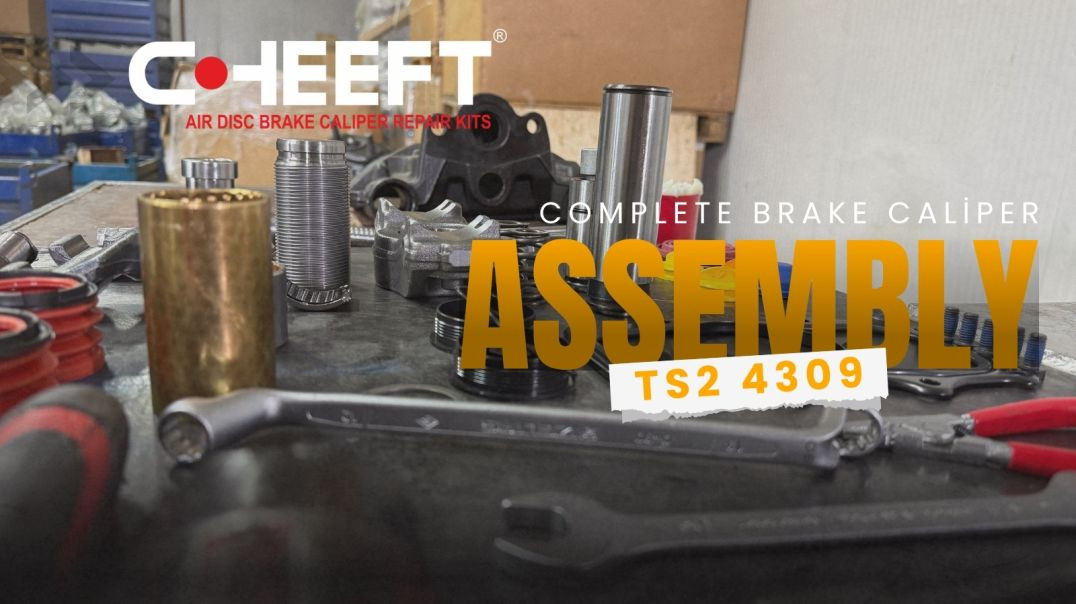
In this detailed training video, we demonstrate the professional overhaul and complete assembly process for the BPW TSB 4309-228 brake caliper, step-by-step. From disassembly, cleaning, and parts quality control to reassembly and final testing, every phase is explained to serve as a comprehensive resource for service centers and maintenance teams.
Discover the most critical "key points" in this video that impact the long-term performance of this caliper model.
Key Topics and Critical Points Highlighted in the Video:
Parts Quality Control:
Lever & Bridge: Must be forging, not cast.
Roller Bearing: Hardness must be over 45-50 Rockwell.
Bushings: Must be bronze material, not brass.
Rubber Boots: Must have heating protection to prevent melting and water ingress.
Critical Assembly Steps:
!!! THE MOST IMPORTANT STEP (Mechanism): After placing the mechanism in the housing, DO NOT LIFT IT UP. Lifting it will displace the roller bearing, causing the caliper to fail within 1-3 months.
Roller Bearing Positioning: The bearing must be pressed into the lever perfectly flat and centered (using a hammer and screwdriver to align if needed).
Lever Position: Ensure the lever's "nail" is correctly seated in its hole; incorrect positioning will cause the caliper to never work properly.
Bolt Security (Loctite):
Blue glue (Loctite) must be used on all bolts (especially mechanism and guide pins).
Bolts loosening from vibration can cause the carrier to stick, misalign the brake chamber, and lead to catastrophic damage.
Tightening Sequence: Always use a cross pattern when tightening the mechanism bolts.
Testing and Adjustments:
Mechanism Turn Count: Must be 3.25 (three and a quarter) turns, matching the original.
Lever Test: The lever must not stick when released slowly (sticking causes heating).
Final Adjustment: A 45-degree flexibility gap must be left in the adjuster at the end.
Brake Chamber Warning: If the brake chamber pin is too long, it will cause a constant heating problem.

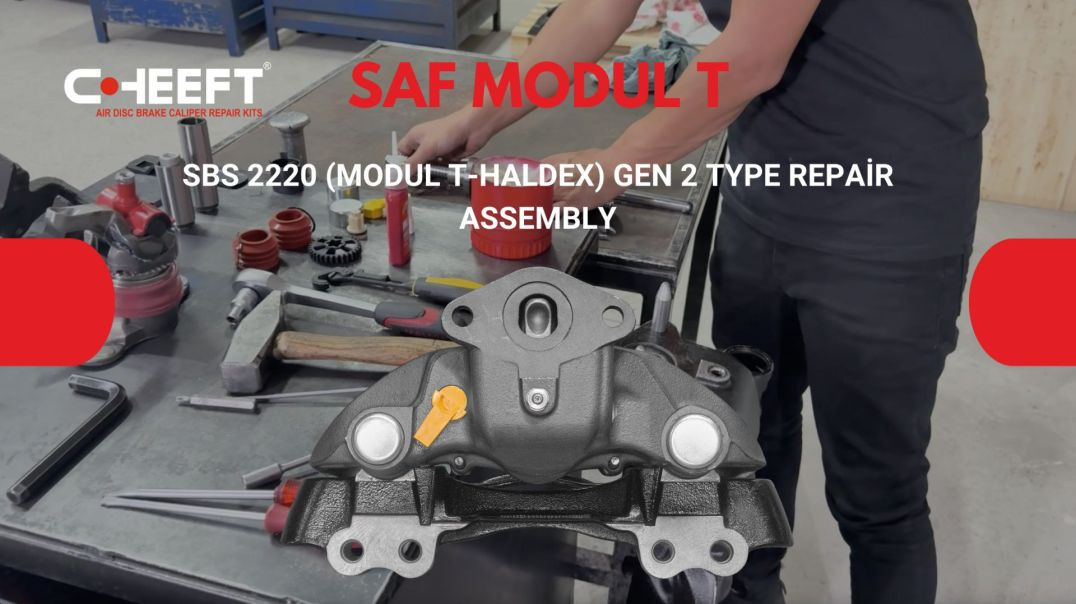
In this detailed training video, we demonstrate the professional overhaul and assembly process for the Saf Modul T SBS 2220 (Modul T-Haldex) GEN 2 TYPE brake caliper, step-by-step. From disassembly, cleaning, and component inspection to reassembly and final testing, every phase is explained to serve as a comprehensive resource for service centers and maintenance teams.
In this video, you will find the most critical "key points" that directly impact the quality and longevity of a caliper repair.
Key Topics and Critical Points Highlighted in the Video:
Critical Cleaning: The importance of cleaning the main body —a step often skipped in workshops but vital for the caliper's lifespan.
Correct Bushing Installation: Easily and precisely fitting new bushings without damaging the housing, using a special tool (Tool #20).
Replacing the Plastic Gear: Renewing the plastic adjustment gear, which is crucial for caliper adjustment but often forgotten.
Mechanism Assembly: Correctly placing O-rings and seals , proper bolt tightening , and preventing washer-related errors that can lead to mechanism lock-up or even fire.
Boots and Sealing: Ensuring the outer rubber boot is fully seated to protect the bushings from water and dust.
Setting the Adjuster Gap: When assembling the mechanism, setting the required 45-degree gap to allow the system to flex and operate correctly.
Guide Pins: The necessity of cleaning the protective (anti-rust) oil off the pins before installation and applying blue Loctite to the bolts to prevent loosening from vibration.
Final Testing (Turn Count): Verifying that the repaired mechanism completes its adjustment in 4 turns, just like the original. (Issues caused by having too many or too few turns are also discussed )
Quality Control Warnings:
Lever: Must be forged, not cast , and the importance of its surface hardness (55-65 Rockwell).
Plate: The importance of casting quality and ensuring the plate is not brittle.
Brake Chamber Warnings: Problems encountered with non-original brake chambers, such as incorrect pin length and centering issues, which can cause damage to the caliper lever.
Product Links:
For the bushing installation tool used in the video and other caliper repair kits, visit our website:
Bushing Installation Tool: https://www.cheeft.com/tr/prod....ucts/meritor/meritor
For More Products: https://www.cheeft.com/tr