B.W

BPW TS2 4309 Caliper Assembly: Correct Lever Alignment, Mechanism Setup & Tips
BPW TS2 4309 Caliper Assembly: Correct Lever Alignment, Mechanism Setup & Tips CHEEFT 8 Lượt xem • 6 ngày trước kia

⁣In this video we assemble the BPW TS2 4309 brake caliper from start to finish and eliminate common mistakes: surface prep, forged lever selection, mechanism orientation, pin–bearing flat alignment, greasing points, spring and cap placement, Loctite use, brake chamber connection, and pad spring/retainer installation.


Follow these steps to prevent sticking, off-center force, disc rubbing, and premature wear.


⁣Key steps & checkpoints

Cleaning: Ensure the caliper body and guide bores are thoroughly clean before assembly.

Lever (forged): Use the forged lever; the bearing track surface must be undamaged.

Mechanism orientation: Mechanism and lever must face the lever side when installed.

Pin–bearing alignment: The flat on the bearing must mate with the lever’s flat; the pin must seat fully in the lever pocket.

Greasing: Apply sufficient but controlled grease on the lever, pin, and contact faces; a light sealing ring of grease helps stabilize motion.

Springs & cap: Fit the two springs in the correct direction, then install the cap; always use the cap seal to keep out water/dust.

Fasteners: On BPW units, apply Loctite to bolts per spec.

Brake chamber:

An overly long or off-center pushrod can preload the mechanism, causing pad drag.

Keep the linkage centered and straight; avoid low-quality chambers that fail early.


Function test: Lever should travel freely to end positions without rubbing or binding.

Pad spring/retainer: Incorrect orientation shifts the pad and causes noise/drag.

Sensitivity: TS2 4309 is tolerance-sensitive; proceed slowly and methodically.

Frequent mistakes

Forcing the pin without matching the lever/bearing flats

Mounting the mechanism facing away from the lever side

Over/under-greasing or greasing the wrong locations

Skipping the cap seal

Off-center or excessive brake-chamber pushrod length

Reversing or omitting the pad spring/retainer


⁣Who is this for?

Heavy-duty service shops, fleet maintenance, caliper rebuilders, and technicians working on BPW TS2 4309 calipers.

BPW TSB 4309-228 Caliper Assembly Guide | All Key Points (Roller Bearing Position!)
BPW TSB 4309-228 Caliper Assembly Guide | All Key Points (Roller Bearing Position!) CHEEFT 8 Lượt xem • 6 ngày trước kia

⁣Bushing Installation Tool: https://www.cheeft.com/tr/prod....ucts/meritor/meritor


⁣For More Products: https://www.cheeft.com/tr


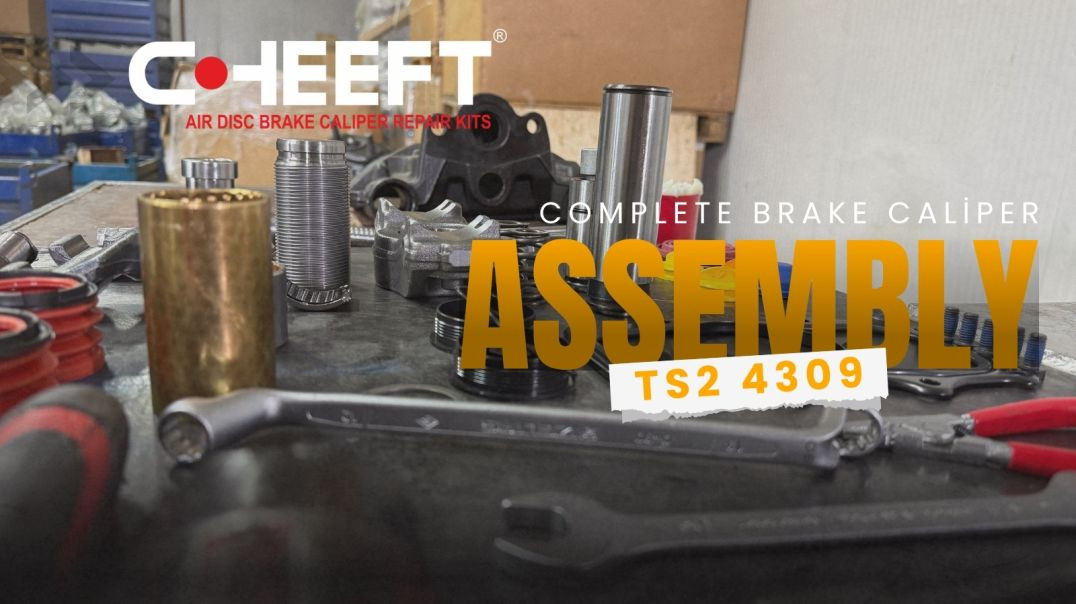
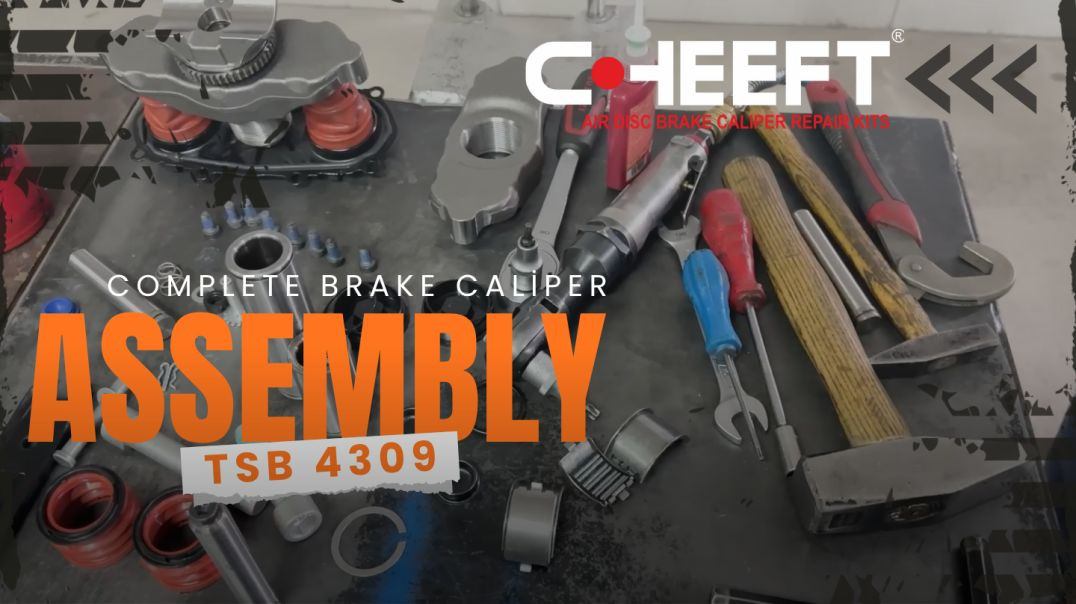
⁣In this detailed training video, we demonstrate the professional overhaul and complete assembly process for the BPW TSB 4309-228 brake caliper, step-by-step. From disassembly, cleaning, and parts quality control to reassembly and final testing, every phase is explained to serve as a comprehensive resource for service centers and maintenance teams.

Discover the most critical "key points" in this video that impact the long-term performance of this caliper model.


⁣Key Topics and Critical Points Highlighted in the Video:
Parts Quality Control:

Lever & Bridge: Must be forging, not cast.

⁣Roller Bearing: Hardness must be over 45-50 Rockwell.

⁣Bushings: Must be bronze material, not brass.

⁣Rubber Boots: Must have heating protection to prevent melting and water ingress.


⁣Critical Assembly Steps:


⁣!!! THE MOST IMPORTANT STEP (Mechanism): After placing the mechanism in the housing, DO NOT LIFT IT UP. Lifting it will displace the roller bearing, causing the caliper to fail within 1-3 months.

⁣Roller Bearing Positioning: The bearing must be pressed into the lever perfectly flat and centered (using a hammer and screwdriver to align if needed).

⁣Lever Position: Ensure the lever's "nail" is correctly seated in its hole; incorrect positioning will cause the caliper to never work properly.


⁣Bolt Security (Loctite):


⁣Blue glue (Loctite) must be used on all bolts (especially mechanism and guide pins).

⁣Bolts loosening from vibration can cause the carrier to stick, misalign the brake chamber, and lead to catastrophic damage.


⁣Tightening Sequence: Always use a cross pattern when tightening the mechanism bolts.


⁣Testing and Adjustments:


⁣Mechanism Turn Count: Must be 3.25 (three and a quarter) turns, matching the original.

⁣Lever Test: The lever must not stick when released slowly (sticking causes heating).

⁣Final Adjustment: A 45-degree flexibility gap must be left in the adjuster at the end.

⁣Brake Chamber Warning: If the brake chamber pin is too long, it will cause a constant heating problem.