あなたは18歳以上ですか?
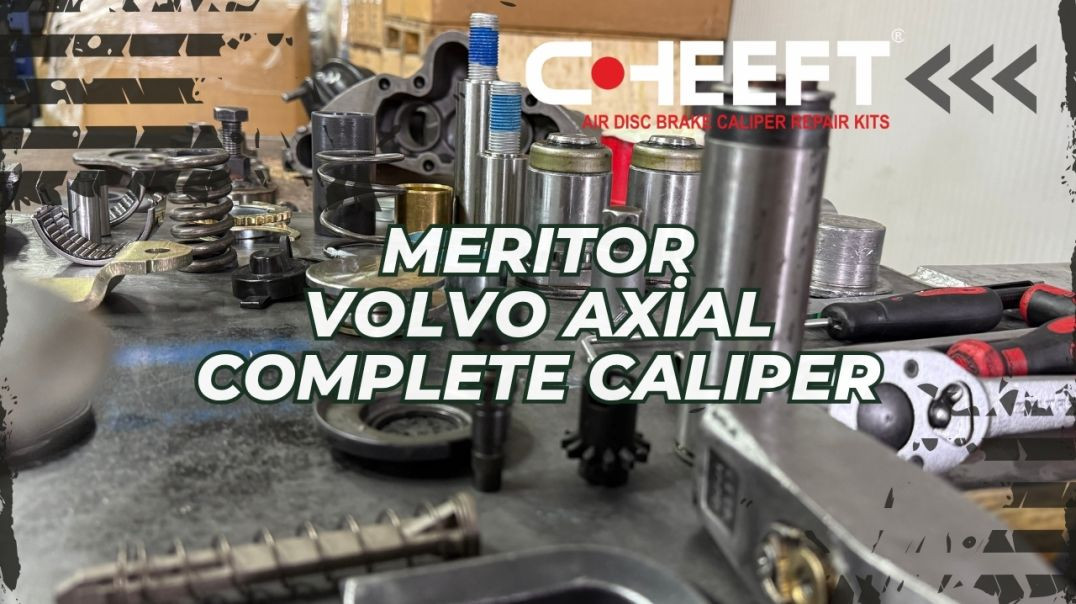
In this detailed training video, we demonstrate the professional overhaul and complete assembly process for the Meritor Volvo Axial type brake caliper, step-by-step. From disassembly , cleaning , and parts quality control to reassembly and final testing, every phase is explained to serve as a comprehensive resource for service centers and maintenance teams. Discover the most critical "key points" that impact lifelong performance in caliper repair. Key Topics and Critical Points Highlighted in the Video: Parts Quality Control: Why the lever must be forging (not cast). The importance of induction and a surface hardness of 50-55 Rockwell. Roller Bearing House: How to check the hardness of the roller bearing house. Fiber Bushes: Why heat-resistant fiber material must be used instead of plastic and why you must not rush the installation (slow and careful). Mechanism Direction: A warning that mixing left and right mechanisms will cause "stacking" and lock-up. Rubber Quality: Rubbers must be heat-protected to prevent melting. !!! THE MOST IMPORTANT STEP: During cover installation, ensuring the roller bearings are correctly seated in the "nails" of the housing. This common mistake can destroy the caliper. Tightening Sequence: Using a specific order and a cross pattern when tightening the cover bolts. Brake Chamber Warnings: How incorrect brake chambers (pin length or centering ) can damage the lever. Final Test (Turn Count): Verifying the repaired mechanism completes its adjustment in 8 to 8.5 turns , matching the original. Final Adjustment: Leaving a 45-degree flexibility gap at the end of the adjustment.